Device Enrolment Program Guide | iStore Online
Overview
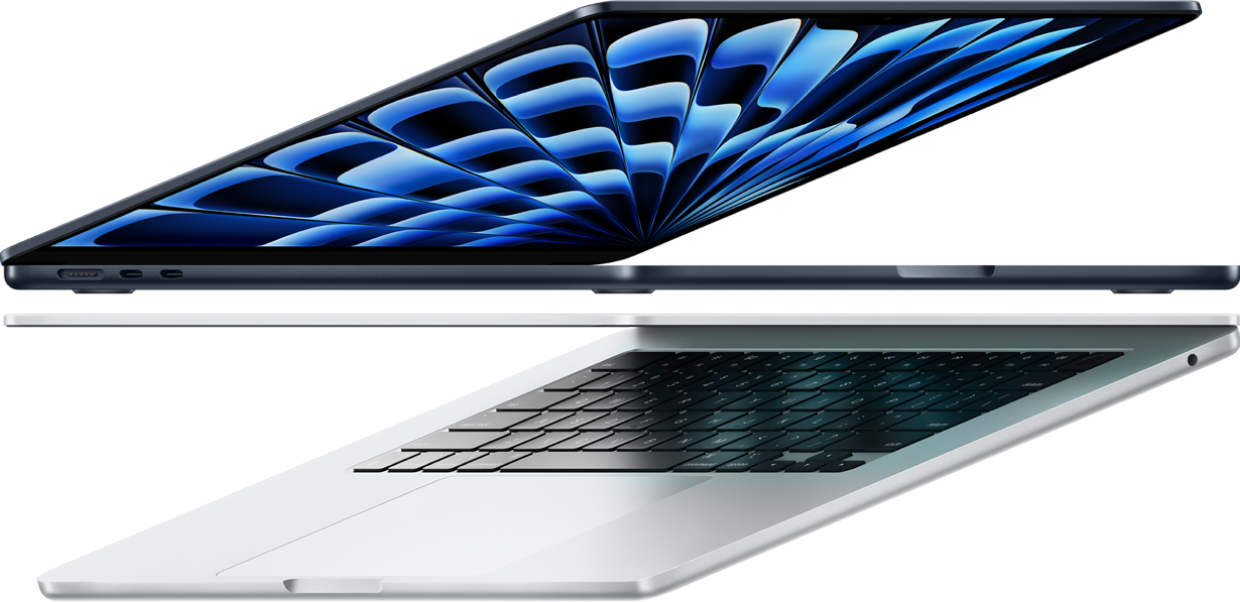
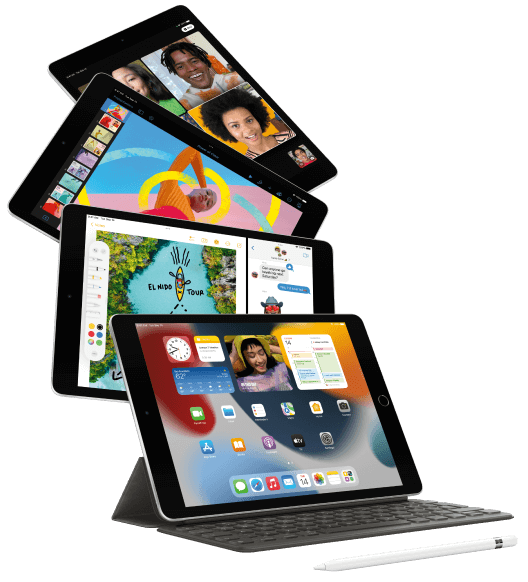
The Device Enrollment Program (DEP) is part of the Apple Deployment Programs (ADP), which help businesses easily deploy and configure iOS and macOS devices. DEP provides a fast, streamlined way to deploy organization-owned iPad and iPhone devices and Mac computers that are purchased directly from
Apple or participating Apple Authorized Resellers or carriers. This guide will give you an overview of program features, explain how to enroll, and help you get started.
Program Features
DEP simplifies initial setup by automating mobile device management (MDM) enrollment and supervision of devices during setup, which enables you to configure the devices without touching them. To further simplify the process, you can skip certain Setup Assistant screens so users can start using their devices right out of the box.
Mandatory and lockable MDM enrollment
Your iOS devices can be preconfigured to require automatic enrollment into MDM. Automatic enrollment ensures that devices are configured based on your organization’s requirements, and guarantees that all users receive those configurations on their devices. You can also lock users’ devices in MDM for ongoing management.
Wireless supervision
Supervision provides a higher level of device management for organizationally-owned iOS devices. It allows additional restrictions, such as turning off iMessage, AirDrop, or Game Center, and it provides additional device configurations and features, such as web content filtering and Single App Mode. With DEP, you can wirelessly enable supervision mode on a device as part of the setup process.
Zero-touch configuration for IT
With DEP, large-scale deployments of iPad, iPhone, and Mac are seamless. Once users activate their devices, you can immediately configure account settings, apps, and access to IT services over the air. You don’t need to use staging services or physically access each device to complete the setup.
Streamlined Setup Assistant
DEP also makes it easier for users to set up their own iOS devices and Mac computers. Using an MDM solution to configure your devices, users are guided through the activation process with the built-in Setup Assistant. You can streamline the Setup Assistant even further by specifying that certain screens be skipped.
Enroll in Apple Deployment Programs
To begin using DEP, you’ll first need to enroll in ADP. You must have the signing authority to enroll on behalf of your business, as you’ll be responsible for agreeing to the terms and conditions for each program you access within ADP. You’ll also be able to set up additional administrators. DEP is available to qualifying businesses that purchase iPad, iPhone, or Mac directly from Apple or participating Apple Authorized Resellers or carriers.
Step 1:
Create an Agent account. To begin the enrollment process, go to deploy.apple.com and create your program agent account. You’ll need to provide an email address associated with your business. Consumer email addresses such as Gmail or Yahoo! Mail will not be accepted. This email address will be used to create your ADP Apple ID, which is required before signing into DEP.
Important Information about Existing Volume Purchase Program Accounts
1. If you’ve already enrolled your business in the Volume Purchase Program (VPP), you can use that same program agent account to enroll in the Device Enrollment Program. This agent account qualifies as an existing Apple Deployment Programs Apple ID, so you are not required to create a new one.
2. Simply log in to deploy.apple.com with your VPP Apple ID, click Enroll next to the Device Enrollment Program, and fill in the required information.
Step 2:
Enable two-step verification. Before continuing the enrollment process, you’ll need to verify your email and enable two-step verification through the My Apple ID website. Simply follow the instructions on the website to enable and verify two-step verification. You’ll be given a recovery key, which you need to save in a safe place, in case you forget your password or lose access to your trusted devices. You’ll receive an email when two-step verification is enabled.
Step 3:
Provide additional business information. Once you have an account and have enabled two-step verification, you can continue enrollment by providing the following information:
1. Verification contact. Enter contact information for an individual who can verify that you have the authority to enroll your organization in the program and has the legal authority to sign for and bind your organization to the DEP terms and conditions. If you’re a third-party service provider, you must have the organization you’re working with enter into this agreement and then add you as an administrator. The entity that owns the authorized devices must enroll in the program directly.
2. Business information. Enter address information, including a zip or postal code, and a valid D-U-N-S number for your company. D-U-N-S numbers are assigned to qualified businesses by Dun & Bradstreet (D&B), and are maintained in the D&B database. Please ensure you use your organization’s complete legal name. Apple will cross-check program enrollees with the D&B database. Visit developer.apple.com/ios/enroll/dunsLookupForm.action to look up an existing D-U-N-S number or to obtain a new one.
Apple Customer Number. If you purchase hardware or software directly from Apple, you’ll receive an account number assigned to your organization. This number is required to connect eligible orders and devices to your DEP account. If you don’t know this number, contact your purchasing agent or finance department. Your organization might also have multiple Apple customer numbers, which you can add during enrollment or on the DEP website once you’re approved.
3. DEP Reseller ID. If you purchase hardware or software directly from a participating Apple Authorised Reseller or carrier, you’ll need to provide your reseller’s DEP Reseller ID. If you don’t know this number, contact your reseller. If you purchase from multiple resellers, enter the DEP Reseller ID of each. Note: In addition to providing your reseller’s DEP Reseller ID, you must tell your reseller that you want your device purchases submitted to the DEP program. Providing the DEP Reseller ID alone is insufficient to enroll your devices in DEP.
4. DEP Customer ID. Once enrolled in the program, you’ll be assigned a DEP Customer ID, found on the DEP website in the menu in the upper right corner next to your name, under “Institution Details.” If you purchase Apple devices from a participating Apple Authorized Reseller or carrier, you will need to provide this number to the reseller or carrier in order to connect your device purchases with your DEP account. If your organization purchases directly from Apple and from a participating Apple Authorized Reseller or carrier, you should enter both your Apple Customer Number and the reseller’s DEP Reseller ID. An Apple Customer Number or a DEP Reseller ID is required at the time of enrollment to verify the eligibility of your organization for the program. After you submit your enrollment application, Apple will review the information provided. You’ll either be notified when verification is complete or contacted by Apple if additional information is needed.
Getting Started with the Device Enrollment Program
Once your enrollment is complete, you can go to deploy.apple.com to prepare settings for your organizationally-owned devices. Complete the following steps:
Step 1:
Add administrators. You can add administrator accounts for individuals who are authorized by your organization to access the website. Log in to the ADP website and choose Admins from the menu on the left. Choose Add Admin Account and enter a name, an email address, and a location, if applicable, for your new administrator. You can create as many administrator accounts as you like.
Note: If you’ve also enrolled your organization in the Volume Purchase Program (VPP) you may assign new administrators to manage this program as well. You may also allow an administrator to assign other administrators.
Important Information about Administrator Accounts
You must provide an email address for each administrator account you create. The email address you provide will be used to create a new Apple ID.
If the email address provided is already in use for an existing Apple ID, you’ll be asked to provide a new email address. Do not use an existing personal Apple ID to administer an account. An administrator Apple ID can’t be used to sign in to the iTunes Store or any other Apple service.
Step 2:
Link your MDM solution. From the DEP website, you’ll establish a virtual server for your MDM server or servers. Virtual servers in DEP are linked to your physical MDM servers. You can add servers at any time. Create a new virtual server by giving it a name and authorizing it. Each server must be known to Apple and authorized to manage your devices. A two-step verification process is used to securely authorize an MDM server. Your MDM vendor can provide documentation on the specifics for its particular implementation.
Step 3:
Assign devices. You can assign devices to your virtual MDM servers by order number or by serial number. Only eligible devices will be available for assignment to your MDM server on the program website. You can search for orders you placed directly with Apple after March 1, 2011, by order or by serial number. If you’ve placed orders from a participating Apple Authorized Reseller, your look-back period will be at the discretion of the reseller. Within 24 hours after the reseller successfully posts your order to the DEP program, it will be available on the DEP website. You can also download a comma-separated value (CSV) file that contains the full list of all unassigned devices in a specific order. Devices are listed by serial number in the CSV file. By designating an MDM server as the default, you may automatically assign newly purchased devices to it.
Note: If a device is sold, lost, returned to the reseller, or damaged beyond repair, it should be permanently removed from your organization’s list of managed devices using the DEP website per the terms of the agreement. However, once a device is removed from DEP, it can’t be added back.
Step 4:
Review assignments. Once you’ve set up your virtual MDM servers and assigned devices to them, you can review several aspects of your device assignment, including:
1. Date of the assignment
2. Order numbers
3. Name of the MDM server to which the devices are assigned
4. Total number of devices, separated by device type
You can also download a CSV file containing all the serial numbers of the devices assigned to each MDM server.
Resources
For more detailed information about the Apple Deployment Programs and the Device Enrollment Program, access online help at help.apple.com/deployment/business.
For more information about deploying and managing devices, explore the following websites:
1. Apple Deployment Programs: deploy.apple.com
2. iOS Deployment Reference: help.apple.com/deployment/ios/
3. macOS Deployment Reference: help.apple.com/deployment/macos/
4. Business IT Resources: www.apple.com/business/apps/
5. Business Device Enrollment Program: www.apple.com/business/it/
6. Apple Products and Services Support: www.apple.com/support/business/
Source: Apple Deployment Programs | Device Enrollment Program Guide | October 2016


